In this post, I’m going to list all the information about all of the latest golf balls. We’ll be covering layers, spin rate, compression, and other information you’d want to know about the most popular golf balls on the market.
We do our best to keep this table updated. If a ball isn’t listed or some of the info needs updating, please leave a comment below, and we’ll get it updated as soon as possible.
You can also search for the ball or brand you’re looking for. To see every column, scroll to the right. For details on what each column means, you can click here for a breakdown.
| Compression | Layers | Cover | Long Game Spin | Short Game Spin | Feel | Dimples | Recommended Speed (MPH) | Recommended Handicap | See Price | |
|---|---|---|---|---|---|---|---|---|---|---|
| Amazon Basics | 55 | 2 | Ionomer | Low | Low | Soft | 338 | < 95 | High | Amazon |
| Bridgestone Tour B X | 95 | 3 | Urethane | Low | High | Firm | 330 | 105+ | Low | Amazon |
| Bridgestone Tour B XS | 85 | 3 | Urethane | Mid | Higher | Mid | 330 | 105+ | Low | Amazon |
| Bridgestone Tour B RX | 85 | 3 | Urethane | Low | High | Mid | 338 | 95+ | Low-Mid | Amazon |
| Bridgestone Tour B RXS | 70 | 3 | Urethane | Mid | Higher | Soft | 338 | 95+ | Low-Mid | Amazon |
| Bridgestone Lady Precept | 50 | 2 | Surlyn | Low | Low | Soft | 330 | < 90 | High | Amazon |
| Bridgestone E12 HiLaunch | 60 | 2 | Ionomer | Low | Low | Soft | 322 | < 95 | Mid-High | Amazon |
| Bridgestone E12 Straight | 65 | 3 | Ionomer | Low | Low | Soft | 322 | < 95 | Mid-High | Amazon |
| Bridgestone E12 Speed | 75 | 2 | Ionomer | Low | Low | Mid | 338 | < 95 | Mid-High | Amazon |
| Bridgestone e6 Soft | 40 | 2 | Ionomer | Low | Low | Soft | 330 | < 90 | High | Amazon |
| Callaway Chrome Tour | 90 | 4 | Urethane | Low | High | Mid | 332 | 105+ | Low | Amazon |
| Callaway Chrome Tour X | 100 | 4 | Urethane | Mid | Higher | Firm | 332 | 105+ | Low | Amazon |
| Callaway Chrome Tour TD | 100 | 4 | Urethane | Lower | High | Firm | 332 | 105+ | Low | Amazon |
| Callaway Chrome Soft | 77 | 3 | Urethane | Low | High | Soft | 332 | 90+ | Low-Mid | Amazon |
| Callaway Chrome Soft X | 95 | 4 | Urethane | Mid | Higher | Firm | 332 | 105+ | Low | Amazon |
| Callaway Chrome Soft X LS | 100 | 4 | Urethane | Lower | High | Firmer | 332 | 105+ | Low | Amazon |
| Callaway Supersoft | 50 | 2 | Hybrid | Low | Low | Soft | 332 | < 90 | High | Amazon |
| Callaway ERC Soft | 77 | 3 | Hybrid | Low | Mid | Soft | 332 | < 95 | Mid-High | Amazon |
| Callaway Superfast | 75 | 2 | Hybrid | Low | Low | Mid | 332 | < 95 | High | Amazon |
| Callaway Warbird | 90 | 2 | Ionomer | Low | Low | Firm | 332 | < 95 | High | Amazon |
| Callaway Reva | 60 | 2 | Ionomer | Low | Low | Soft | 332 | < 90 | High | Amazon |
| Cut DC | 100 | 4 | Urethane | Low | High | Firm | 360 | 105+ | Low | Amazon |
| Cut Blue | 90 | 4 | Urethane | Mid | Higher | Mid | 314 | 95+ | Low | Amazon |
| Cut Grey | 80 | 3 | Urethane | Low | High | Mid | 314 | 85+ | Low-Mid | Amazon |
| Cut Red | 60 | 2 | Ionomer | Low | Low | Soft | 332 | 70+ | High | Amazon |
| Maxfli Tour | 95 | 3 | Urethane | Low | High | Firm | 318 | 95+ | Low-Mid | Amazon |
| Maxfli Tour S | 80 | 3 | Urethane | Lowest | High | Mid | 336 | < 100 | Low-Mid | Golf Galaxy |
| Maxfli Tour X | 100 | 4 | Urethane | Mid | Higher | Firm | 336 | 105+ | Low | Amazon |
| Kirkland Signature | 95 | 3 | Urethane | Mid | High | Firm | 338 | 95+ | Low-Mid | Amazon |
| Mizuno Pro X | 100 | 3 | Urethane | Mid | Higher | Mid | 332 | 105+ | Low | Worldwide Golf |
| Mizuno Pro S | 95 | 3 | Urethane | Low | High | Soft | 332 | 95+ | Low-Mid | Worldwide Golf |
| Mizuno RB Tour | 90 | 3 | Urethane | Low | High | Mid | 272 | 95+ | Low-Mid | Amazon |
| Mizuno RB Tour X | 95 | 3 | Urethane | Mid | Higher | Mid | 272 | 105+ | Low | Amazon |
| Mizuno RB Max | 80 | 3 | Ionomer | Low | Mid | Mid | 336 | < 100 | Mid | Amazon |
| Nitro Crossfire | 85 | 2 | Surlyn | Low | Low | Firm | 432 | < 95 | High | Amazon |
| Nitro Maximum Distance | 85 | 2 | Surlyn | Low | Low | Low | 352 | < 95 | High | Amazon |
| Nitro White Out | 70 | 2 | Surlyn | Low | Low | Mid | 352 | < 90 | High | Amazon |
| Pinnacle Distance | 77 | 2 | Surlyn | Low | Low | Mid | 332 | < 95 | High | Amazon |
| Pinnacle Soft | 50 | 2 | Surlyn | Low | Low | Soft | 332 | < 90 | High | Amazon |
| Pinnacle Rush | 80 | 2 | Surlyn | Low | Low | Firm | 332 | < 100 | High | Amazon |
| PXG Xtreme Tour | 95 | 3 | Urethane | Low | High | Firm | 338 | 95+ | Low-Mid | Amazon |
| PXG Xtreme Tour X | 100 | 3 | Urethane | Mid | Higher | Firm | 338 | 105+ | Low | Amazon |
| Snell Get Sum | 70 | 2 | Ionomer | Low | Low | Mid | 332 | < 90 | High | Amazon |
| Snell Prime 2.0 | 80 | 2 | Urethane | Mid | Mid | Soft | 332 | 90+ | Low-Mid | Amazon |
| Snell Prime 3.0 | 85 | 3 | Urethane | Low | High | Mid | 332 | 95+ | Low-Mid | Amazon |
| Snell Prime 4.0 | 90 | 4 | Urethane | Lower | Higher | Firm | 332 | 105+ | Low | Amazon |
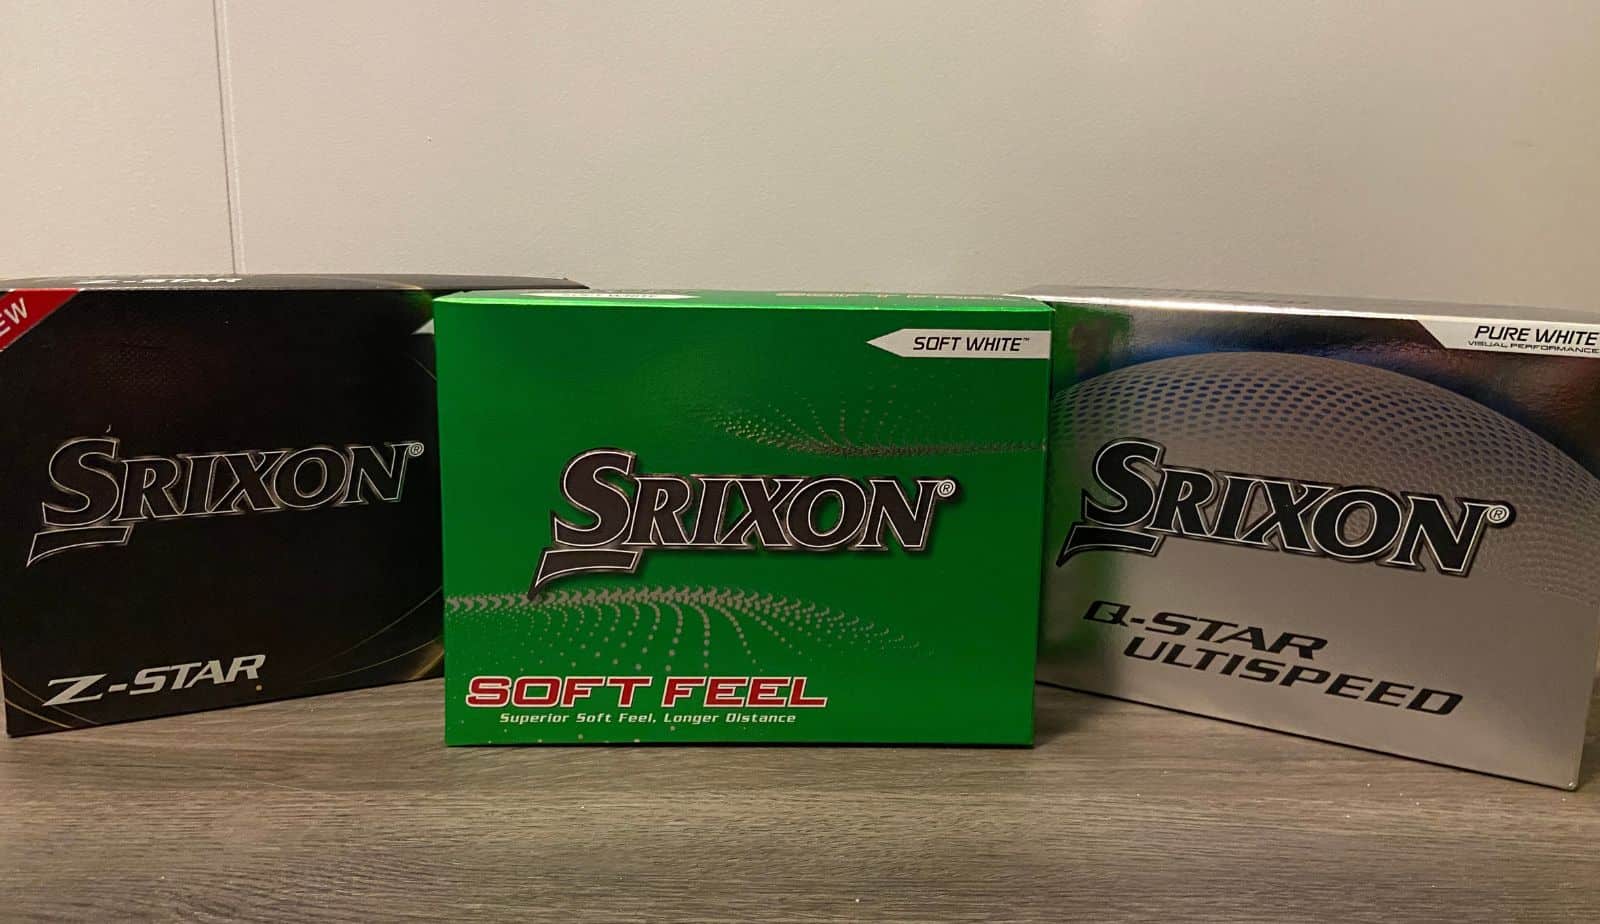
| Srixon Soft Feel | 60 | 2 | Ionomer | Low | Low | Soft | 338 | < 95 | High | Amazon |
| Srixon Q-Star Tour | 74 | 3 | Urethane | Low | Higher | Soft | 338 | 90+ | Low-Mid | Amazon |
| Srixon Q-Star Ultispeed | 85 | 3 | Ionomer | Low | Mid | Mid | 338 | 90+ | Mid | Amazon |
| Srixon Z-Star | 88 | 3 | Urethane | Low | Highest | Soft | 338 | 95+ | Low | Amazon |
| Srixon Z-Star XV | 102 | 3 | Urethane | Low | High | Mid | 338 | 105+ | Low | Amazon |
| Srixon Z-Star Diamond | 100 | 3 | Urethane | Mid | Higher | Mid | 338 | 105+ | Low | Amazon |
| Taylormade TP5 | 88 | 5 | Urethane | Mid | Highest | Soft | 322 | 95+ | Low | Amazon |
| Taylormade TP5x | 95 | 5 | Urethane | Low | Higher | Mid | 322 | 95+ | Low | Amazon |
| Taylormade Tour Response | 75 | 3 | Urethane | Low | High | Soft | 322 | 90+ | Low-Mid | Amazon |
| Taylormade Speedsoft | 50 | 2 | Ionomer | Low | Low | Soft | 322 | < 90 | High | Amazon |
| Taylormade Distance+ | 77 | 2 | Ionomer | Low | Low | Mid | 322 | < 95 | High | Amazon |
| Taylormade Kalea | 60 | 2 | Ionomer | Low | Low | Soft | 342 | < 90 | High | Amazon |
| Noodle Long & Soft | 70 | 2 | Surlyn | Low | Low | Soft | 342 | < 95 | High | Amazon |
| Titleist Pro V1 | 90 | 3 | Urethane | Low | Higher | Mid | 388 | 95+ | Low | Amazon |
| Titleist Pro V1x | 102 | 4 | Urethane | Mid | Higher | Firm | 348 | 105+ | Low | Amazon |
| Titleist Pro V1x Left Dash | 102 | 4 | Urethane | Lower | Higher | Firm | 328 | 105+ | Low | Amazon |
| Titleist AVX | 80 | 3 | Urethane | Lower | High | Soft | 346 | 95+ | Low-Mid | Amazon |
| Titleist Tour Soft | 90 | 2 | Ionomer | Low | Mid | Soft | 346 | 90+ | High | Amazon |
| Titleist Velocity | 90 | 2 | Ionomer | Low | Low | Firm | 350 | < 95 | High | Amazon |
| Titleist TruFeel | 70 | 2 | Ionomer | Low | Low | Soft | 376 | < 95 | High | Amazon |
| Top Flite XL Distance | 90 | 2 | Ionomer | Low | Low | Firm | 332 | < 95 | High | Amazon |
| Vice Pro Plus | 100 | 4 | Urethane | Mid | Highest | Firm | 336 | 105+ | Low | Amazon |
| Vice Pro | 90 | 3 | Urethane | Low | Higher | Mid | 318 | 95+ | Low-Mid | Amazon |
| Vice Pro Air | 75 | 3 | Urethane | Low | High | Soft | 318 | < 95 | Low-Mid | Amazon |
| Vice Tour | 95 | 3 | Surlyn | Low | Mid | Firm | 312 | 90+ | Mid-High | Amazon |
| Vice Drive | 95 | 2 | Surlyn | Low | Low | Firm | 312 | 90+ | High | Amazon |
| Volvik Condor | 85 | 3 | Urethane | Low | High | Mid | 336 | 95+ | Low-Mid | Amazon |
| Volvik Condor X | 95 | 4 | Urethane | Mid | Higher | Firm | 336 | 105+ | Low | Amazon |
| Volvik VTU3 | 80 | 3 | Urethane | Low | High | Soft | 332 | 95+ | Low-Mid | Volvik |
| Volvik VTU4 | 90 | 4 | Urethane | Mid | Higher | Firm | 332 | 105+ | Low | Volvik |
| Volvik XT Soft | 70 | 3 | Urethane | Low | High | Soft | 336 | < 95 | Low-Mid | Amazon |
| Volvik Vivid | 85 | 3 | Ionomer | Low | Mid | Mid | 322 | < 100 | Mid-High | Amazon |
| Volvik Vivid Soft | 70 | 3 | Ionomer | Low | Mid | Soft | 322 | < 90 | Mid-High | Amazon |
| Volvik Crystal | 85 | 3 | Ionomer | Low | Mid | Mid | 322 | < 100 | Mid-High | Amazon |
| Volvik Crystal Soft | 70 | 3 | Ionomer | Low | Mid | Soft | 322 | < 90 | Mid-High | Volvik |
| Volvik Magma | 90 | 3 | Ionomer | Low | Mid | Firm | 296 | < 100 | Mid-High | Amazon |
| Volvik Power Soft | 75 | 2 | Ionomer | Low | Low | Mid | 332 | < 95 | High | Amazon |
| Volvik Radiance | 60 | 2 | Ionomer | Low | Low | Soft | 332 | < 90 | High | Volvik |
| Wilson Staff Model | 94 | 4 | Urethane | Low | Higher | Firm | 362 | 100+ | Low | Amazon |
| Wilson Staff Model X | 104 | 4 | Urethane | Mid | Higher | Firmer | 362 | 105+ | Low | Amazon |
| Wilson Triad | 80 | 3 | Urethane | Mid | High | Mid | 362 | 90+ | Low-Mid | Amazon |
| Wilson Duo Soft | 37 | 2 | Surlyn | Low | Low | Soft | 302 | < 90 | High | Amazon |
The Chart Explained
Golf ball compression: This is how much force it takes to compress the ball. Low compression balls are generally for slower swing speeds, while high compression balls are for faster swing speeds. Balls with compression ratings over 90 are considered high, while balls under 70 and considered low. Between 70 and 90 is moderate. Learn more about compression HERE.
Golf ball spin: This is how much the ball spins. Balls with high short-game (green side) spin will spin more with the short irons and wedges. Cheaper balls usually have less short-game spin and won’t spin as much. Most balls have lower long-game spin (driver, woods, long irons, etc). Some will spin a bit more or a bit less than others. Learn more about spin HERE.
Golf ball layers: This is how many pieces the ball is made from. 2 piece balls are cheaper and are designed for higher handicap or beginner golfers. They normally produce low spin and are great for golfers who hook or slice the ball. 3 or 4 piece balls will spin more and 5 piece balls will likely have the most long-game spin (not short-game). Learn more about the types of balls HERE.
Feel: This is how soft or hard the ball feels at impact. It doesn’t have a huge impact on the performance, but everyone will prefer something slightly different. Learn more about it HERE.
Golf ball cover: This is the type of cover the golf ball has. Urethane balls are typically more expensive, have higher spin rates, and can be softer. Learn more about the differences HERE.
Swing speed: Some balls will say they’re designed for a certain swing speed while others say they’re for all swing speeds. It can be a bit confusing, but it’s not as important as it used to be. When a company says this, it’s mainly to give you a rough estimate.
If you have a very fast swing speed, a low compression ball could feel way too soft. The opposite is true with a very slow swing speed. The main thing to look at is what you need your ball to do. Do you hit the ball too low? Look for a ball that has a higher ball flight.
But if you are curious about your swing speed, here’s a general chart:
| Average Driver Distance | Swing Speed |
| 205 Yards | 80 MPH |
| 230 Yards | 90 MPH |
| 260 Yards | 100 MPH |
Did I miss a ball? Let me know in the comments below, and I’ll get it added to this list.
And if you’re in the market for a new ball and don’t know where to start, check out one of these articles:


What To Do Next:
Enter Our Gear Giveaway: Like free golf stuff? A few times per year, we pick a few of our viewers and send them some gifts. Click here to learn more.
Deals & Discounts: We’ve worked with brands to offer discounts to our readers. See our deals and discounts page to see our current promotions.
Write For Us: Calling all hackers, whackers, and golf enthusiasts. Out Of Bounds Golf is looking for writers. If you’d like to get paid to write about golf, click here for more info.
